Documents are a great tool to present course material to students. Text, links, images, file attachments and videos are all items that can be added or uploaded to a document.
To create a document:
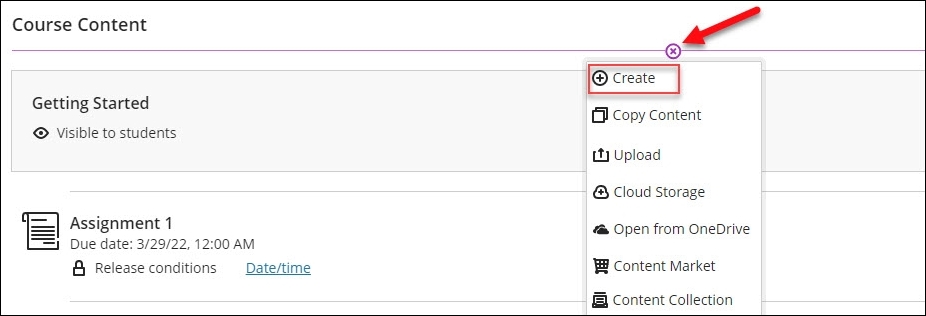
- On the Course Content page, select the plus sign > Create. The Create Item panel will open on the right.
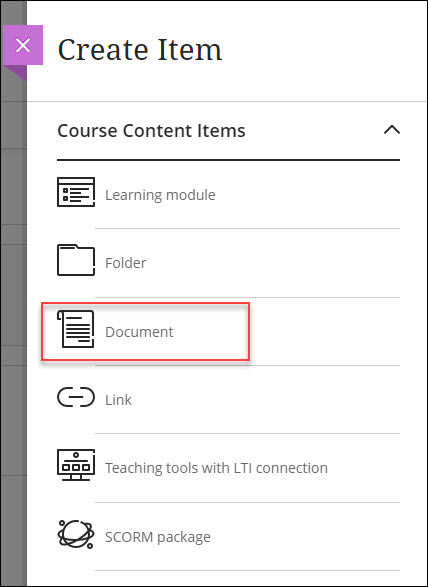
- On the Create Item panel, select Document. The New Document page will open.
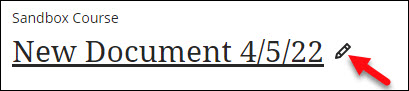
- On the New Document page, name the Document.
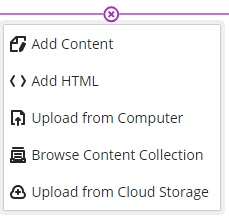
- To add content in the Document, there are five options to choose from:
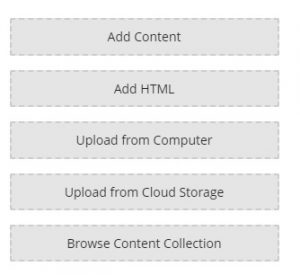
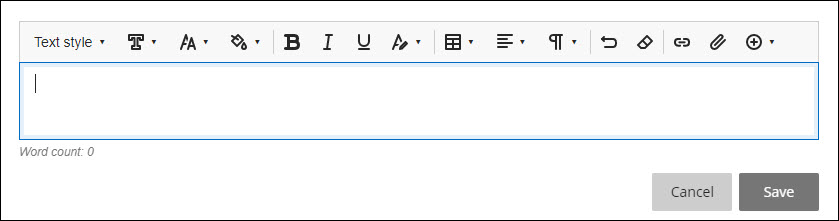
- Add Content: This feature provides a text editor box where you can add text, links, and other attachments to the document.
- Add HTML: This feature allows you to enter a block of HTML code. This is particularly useful for embedding videos or other non-text content. Many applications, such as YouTube, provide an HTML code block for sharing using the “embed” option.
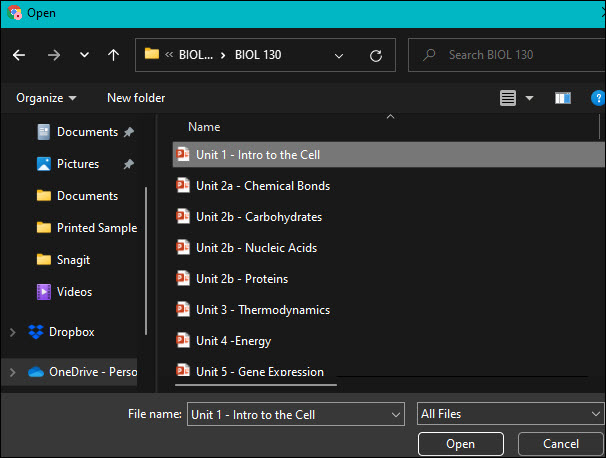
- Upload from Computer: This feature allows you to upload Word documents, PowerPoints, and other items on your computer to the Document.
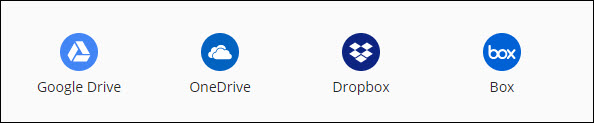
- Upload from Cloud Storage: You can add items that have been added to Cloud Storage into the Document.
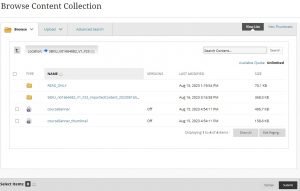
- Browse Content Collection: You can add items that have been added to your Content Collection into the Document.
- Add Content: This feature provides a text editor box where you can add text, links, and other attachments to the document.
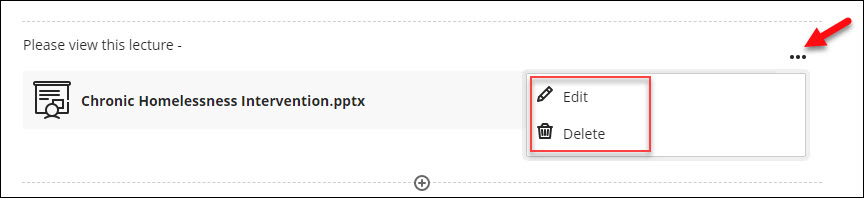
- To edit/delete the document, on the right-hand side select the 3 dots.
- To add additional content to the document, select the purple plus sign.
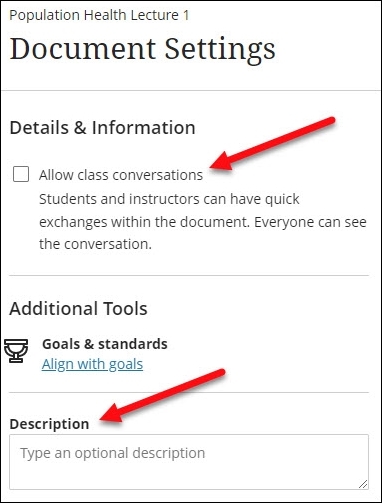
Note: Newly created Documents are “Hidden from students” by default and this setting can be changed in the top right corner. - To access more settings for the Document, click on the gear icon located at the top right. Here, an optional description can be added and class conversations can be enabled. After making the preferred selection, click “Save” at the bottom right of the panel.
Video
- Create a Document in the Ultra Course View – 2:24 min Blackboard Help video