Overage Dependent Status – Over 25 years Old
Learn how to perform this action in the HRMS.
Steps
1. Sign onto HRMS using your single sign-on ID and password.
2. Click on ‘Benefits Administration’ tab.
3. Click on ‘Enrollment’.
4. Enter ‘Name/Person Number’.
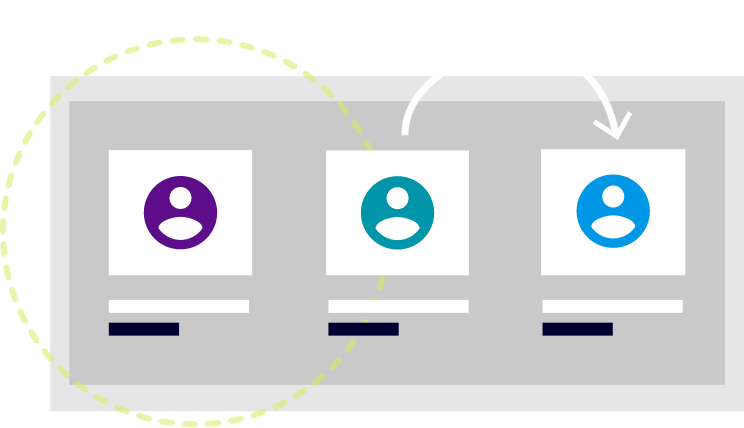
Note: Complete at least one field with double asterisk (**).
5. Enter ‘Effective As-of Date’.
Note: This should be the same as the date that the life event occurred for the employee.
6. Click on ‘Search’.
7. Under Search Results, click on ‘Name’ hyperlink of the employee.
8. Benefits Service Centre will display.
Note: You will see Participant Benefits Summary, Life Events Summary divided into Life Events and Potential Life Events. The Age Change life event will appear under Potential Life Events with status of Detected.
9. Click on ‘Tasks’ on the right, under the Benefits Enrollment task, and click on ‘Process Life Event’.
10. Click on the Potential Life Events tab, and click on the “+” to add the “Enrolment Override” Life Event date the day after that the loss of eligibility occurred.
11. Click on “Save”
12. Exit out of remaining tabs in order to go back to the Benefits Service Centre.
Note: Before you close the tab, you must first select the tab and then click on the Close(x) icon.
13. Click on “Refresh”
14. Click on ‘Tasks’ on the right side, under the Benefits Enrollment task, and click on ‘Process Life Event.’
15. On the Process Life Event tab, click on ‘Evaluate Life Events’ on right side of the page.
Note: The session effective date should be the same date as the Enrolment Override Life event
16. Exit out of remaining tabs in order to go back to the Benefits Service Centre.
Note: Before you close the tab, you must first select the tab and then click on the Close(x) icon.
17. Click on ‘Enrollments’ on the right side, under the Benefits Enrollment task.
18. Enter the same date in the “Effective Date” field that was used to create the Enrolment Override life event. Click on “Go”.
19. Click on “Manage Enrollment Activities”
20. Click on “Yes”
21. Click on “Certifications”.
22. Click on ‘View’, select ‘Expand All’, and ‘Detach.’
Note: This will reflect what needs to be submitted by the employee when a plan is in suspended status.
23. Enter the “Received Date” which is the same date used to add the Enrolment Override life event.
24. Click “Save”.
25. Click on ‘Tasks’ on right side, under the Benefits Override task, and click on ‘Enrolment Override.’
26. Click on the appropriate “Plan and Option” that needs to be updated with correct rates based on loss of eligibility.
Note: Ensure that the Enrolment Override Started Life Event is chosen to be updated
27. Click on “Dental” and scroll to the bottom of the page.
28. Under the “Rate Start Date” enter the start of the pay period that affects the loss of eligibility coverage based on the premium rate rules.
29. The “Defined” “Annual” and “Communicated” amounts should already be updated based on the new coverage after the loss of eligibility life event.
30. Click on “Medical” and scroll to the bottom of the page.
31. Under the “Rate Start Date” enter the start of the pay period that affects the loss of eligibility coverage.
32. The “Defined” “Annual” and “Communicated” amounts should already be updated based on the new coverage after the loss of eligibility life event.
33. Click on “Save”
34. Exit out of remaining tabs in order to go back to the Benefits Service Centre.
Note: Before you close the tab, you must first select the tab and then click on the Close(x) icon.
35. In order to verify that the Loss of Eligibility Life Event has been processed properly, go into Enrollment Results under the Benefits Enrollment task.
36. Enter the “Session Effective Date” with the same date used to enter the “Enrolment Override Life Event. Click on “Go”
37. In the Enrollment Results tab under the Designees section, the overage dependent should no longer appear under the Dependent column as they are no longer eligible for benefits.