What is the Respondus Lockdown Browser?
LockDown Browser is a custom browser that locks down the testing environment within a learning management system. The purpose of the Lockdown Browser is to lock down student computers to uphold academic integrity while taking a test in Blackboard.
What are the key Respondus Lockdown Browser features?
Here are some of the key features of the Respondus Lockdown Browser:
- Assessments are displayed full-screen, cannot be minimized, and cannot be exited until the student submits it for grading
- The internet browser menu and toolbar options are removed, except for Back, Forward, Refresh and Stop,
- Prevents access to other applications including messaging, screen-sharing, virtual machines, and remote desktops,
- Printing and screen capture functions are disabled for the student,
- Copying and pasting anything to or from an assessment is prevented,
- Assessments that are set up for use with Lockdown Browser cannot be accessed with other browsers
Students & Instructors: What should you know before you begin with the Respondus Lockdown Browser?
Students must use a computer that satisfies minimum requirements for Windows, ChromeOS, iPadOS, and MacOS described here.
There are also a few known issues, recommendations and student resources from Respondus and Innovative Learning, relevant for both instructors and students:
- It is recommended that the instructor creates a formative assessment with one question, which is proctored by Respondus Lockdown Browser, and asks students to complete it before the actual test. By doing so, students will become familiar with the process, and the Lockdown Browser will already be installed on their device prior to the test.
- It is strongly recommended to share these resources with students to make sure they know and are comfortable with using the Respondus Lockdown Browser.
- Share this resource created by Innovative Learning to help students learn how to download and use the Respondus Lockdown Browser on their devices.
- Respondus has a dedicated Student Help page – consider sharing the quick start guide for Blackboard Ultra which is linked here, and share the Technical Support page for Students which is linked here.
- The Innovative Learning Support Centre is here to help students if they need support. If an issue arises during or after a test and you cannot resolve it, please submit a support request by accessing this link.
Please read the troubleshooting section below for additional helpful information.
- This resource created by Innovative Learning will help students learn how to download and use the Respondus Lockdown Browser on their devices.
- Respondus has a dedicated Student Help page – there is a quick start guide for Blackboard Ultra which is linked here, and a Technical Support page for Students here.
- The Innovative Learning Support Centre is here to help you, as a student, if you need support. If an issue arises during or after a test and you cannot resolve it, please submit a support request by accessing this link, but the Respondus Support Team may be able to answer about technical issues and errors; consider contacting them or find support resources from Respondus here.
How do I troubleshoot my Respondus Lockdown Browser Issues?
- If any course content names (like the names of modules, folders, assignments, tests, discussions, etc.) include special characters (icons, photos, emoticons, etc.), Respondus Lockdown Browser Dashboard will fail to open. Please ensure that the names of your course content do not have these characters.
- If your course hasn’t yet started, trying to use student_preview to test out a Test using the Respondus Lockdown Browser. This would result in the error message showing “You do not have permission to access content – please check with your administrator if you need access to this page”. Please use student_preview again to test this out once the course starts.
- If students are experiencing an issue accessing a Respondus test after copying it from a previous course, please follow these instructions:
- After copying the exam using the “Copy Items” option to transfer content from the previous course, the instructor must go into the new course, access each of the exam settings, and select the Respondus LockDown Browser option. This will redirect them to the Respondus settings page; without completing this step, students will not be able to take the exams in the new course.
- If this is not done, students will see the following error message when trying to access the test:
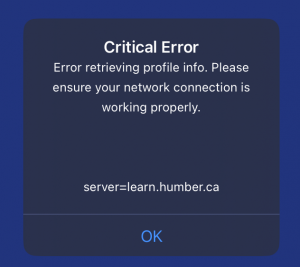
- To resolve this issue, instructors must:
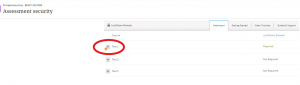
- Open LockDown Browser Dashboard in the course
- Check if any errors appear for the quiz (example below)
- Click Fix it if prompted
- If this is not done, students will see the following error message when trying to access the test:
- After copying the exam using the “Copy Items” option to transfer content from the previous course, the instructor must go into the new course, access each of the exam settings, and select the Respondus LockDown Browser option. This will redirect them to the Respondus settings page; without completing this step, students will not be able to take the exams in the new course.
How do I add the Respondus LockDown Browser to My Assessment?
There is a different process for adding and using the Respondus LockDown Browser if you’re working in MacOS/iPadOS/Windows, or if you’re working with ChromeOS.
1. Navigate to https://learn.humber.ca/ultra/
Access the course where you'd like to use/apply Respondus Lockdown browser.
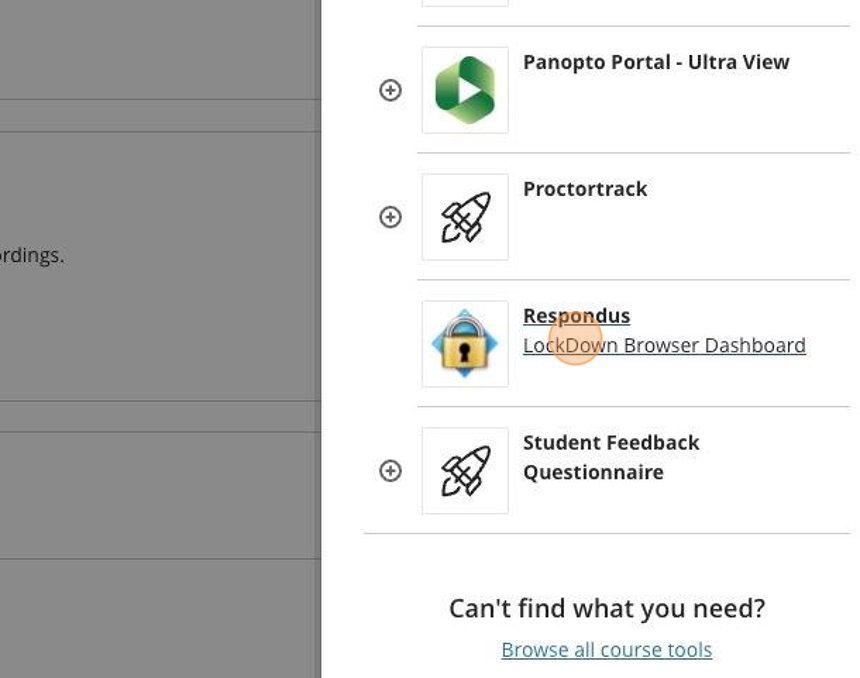
2. Click "View course & institution tools".

3. Click "LockDown Browser Dashboard" (Note: You will need to click "Allow" if using the tool for the first time).
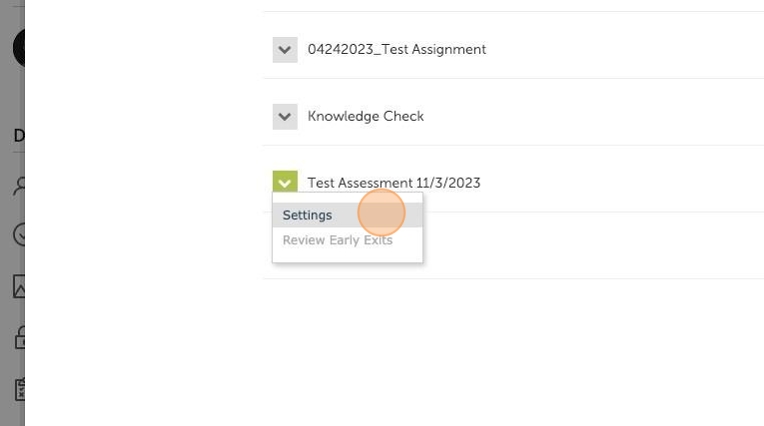
4. The dashboard will open, where you can view all available assessments. Find the exam for which you would like to enable the LockDown Browser.
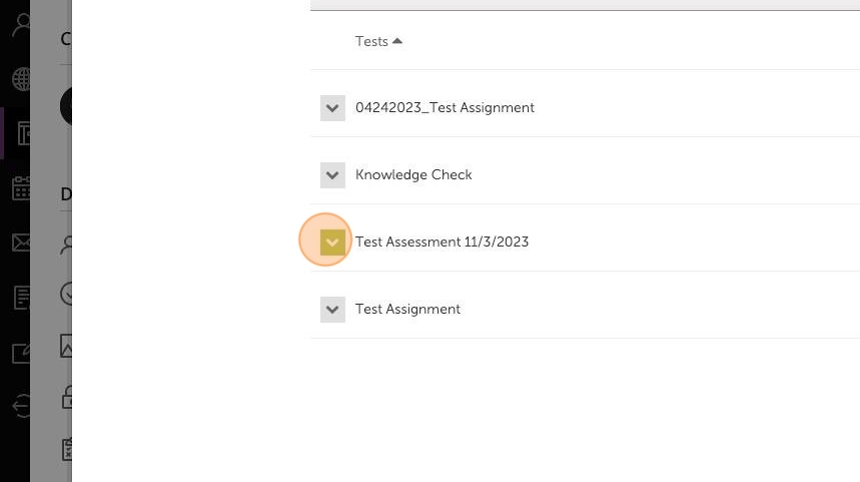
5. In the dropdown menu, click "Settings".
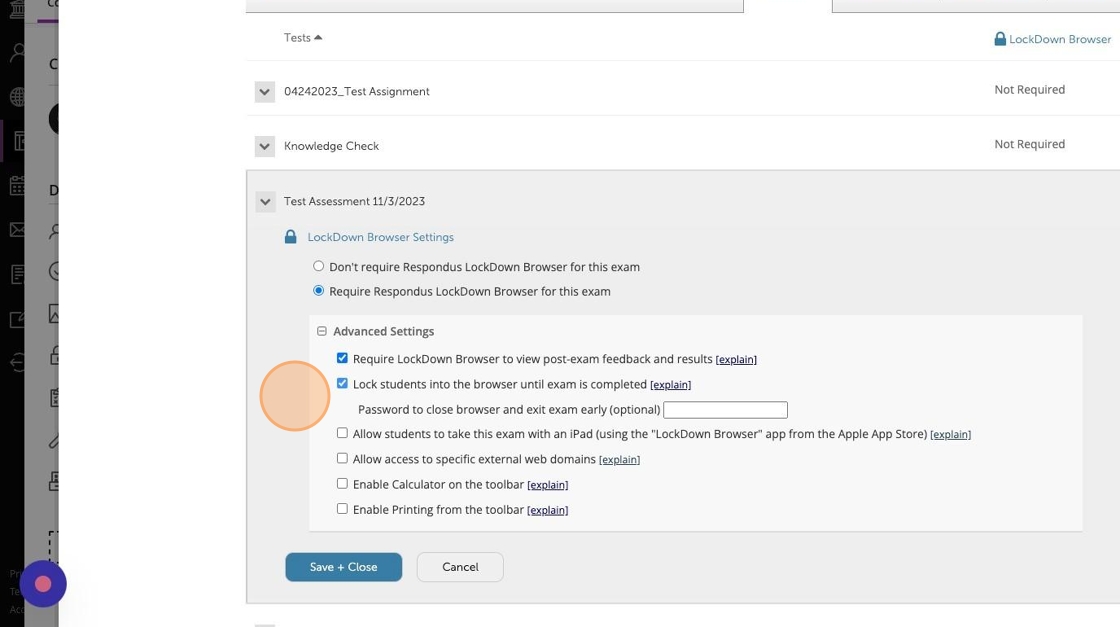
6. Click the "Require Respondus LockDown Browser for this exam" field.

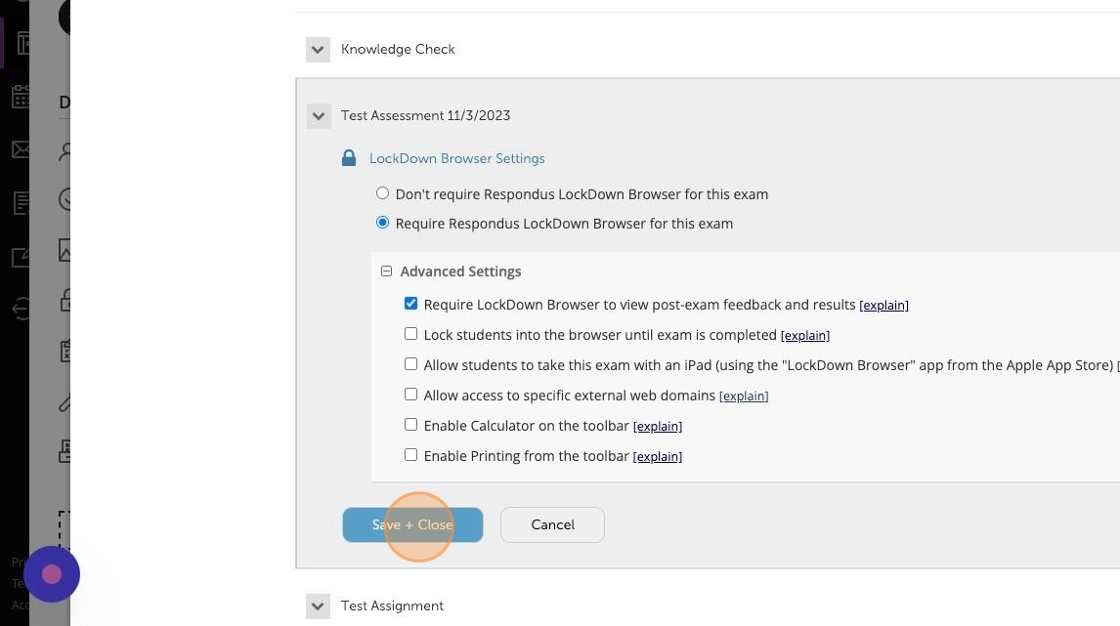
7. Select additional settings for your exam as needed.
8. Click "Save + Close".
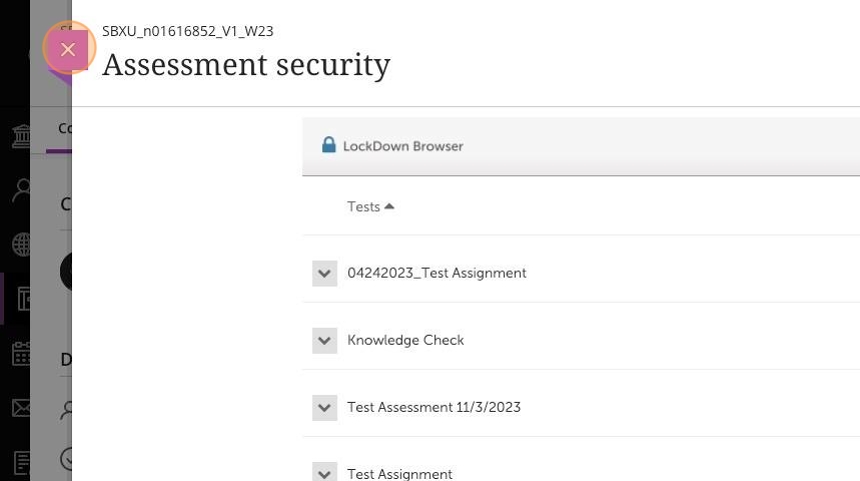
9. Exit the dashboard by clicking "×".
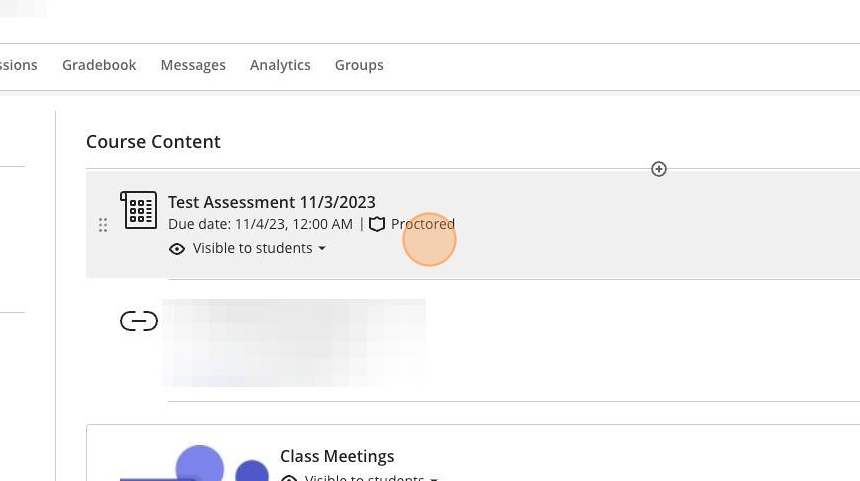
10. In your course content, you will see that your exam is now Proctored. This confirms that LockDown Browser is enabled.
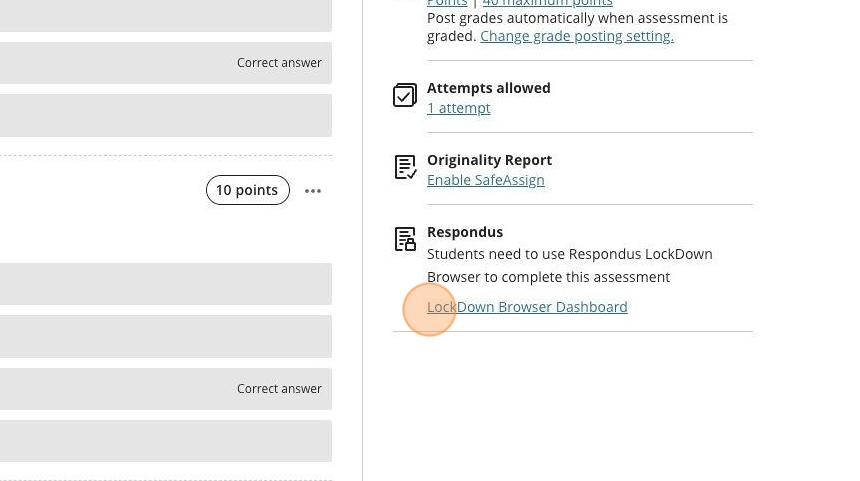
11. In Test Settings, you can access the LockDown Browser Dashboard.
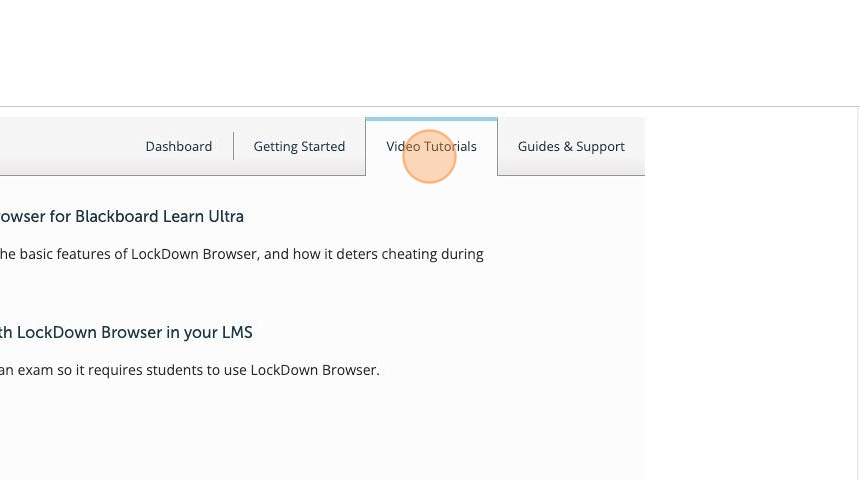
12. The Video Tutorials tab contains helpful resources for instructors and students.
When students take a test proctored by the Respondus Lockdown Browser, they need to install it on their own devices by following the provided instructions. For Chromebooks, extra steps must be taken.
To use the Respondus Lockdown Browser on a Chromebook for the first time for a test in a Humber course, follow these steps.
Step 1: Clear Your Browsing Cache
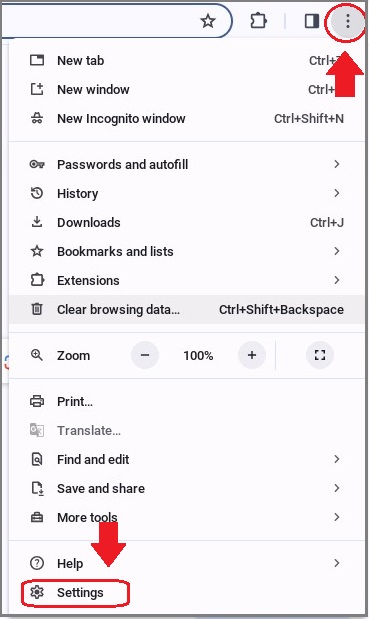
Click … from the top-right corner, and it shows you a menu. Select “Clear browsing data …”.
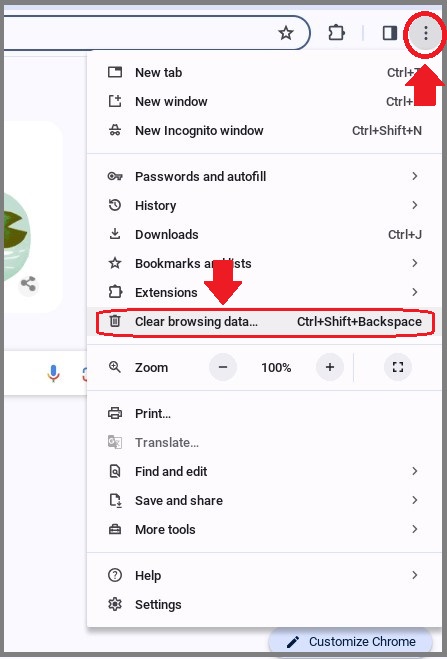
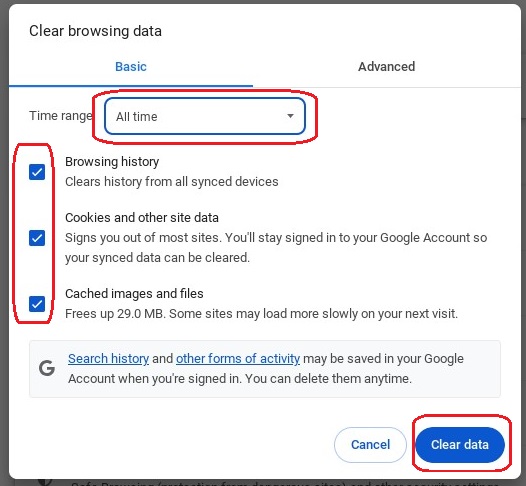
Make sure that “Time range” is set to “All time”, and check all three checkboxes, then click “Clear data” button.
Step 2: Enable Pop-up Window
Please ensure that the pop-up window is allowed on your browser setting. Click … from the top-right corner, then select “Settings” from the menu.
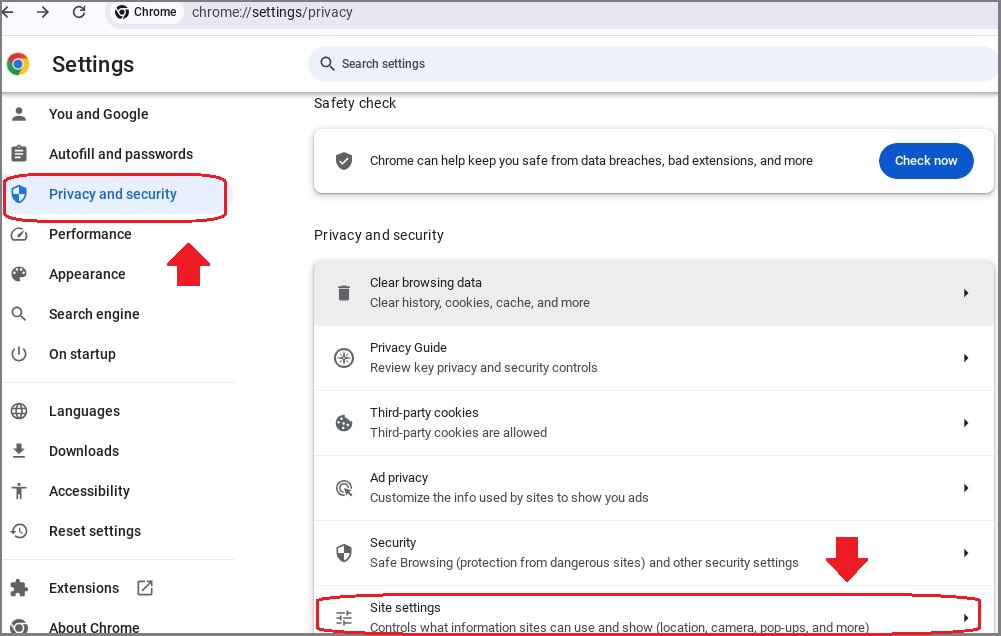
Then, select “Privacy and security” from the left, and select “Site settings”.
Then, scroll down and select “Pop-ups and redirects”.
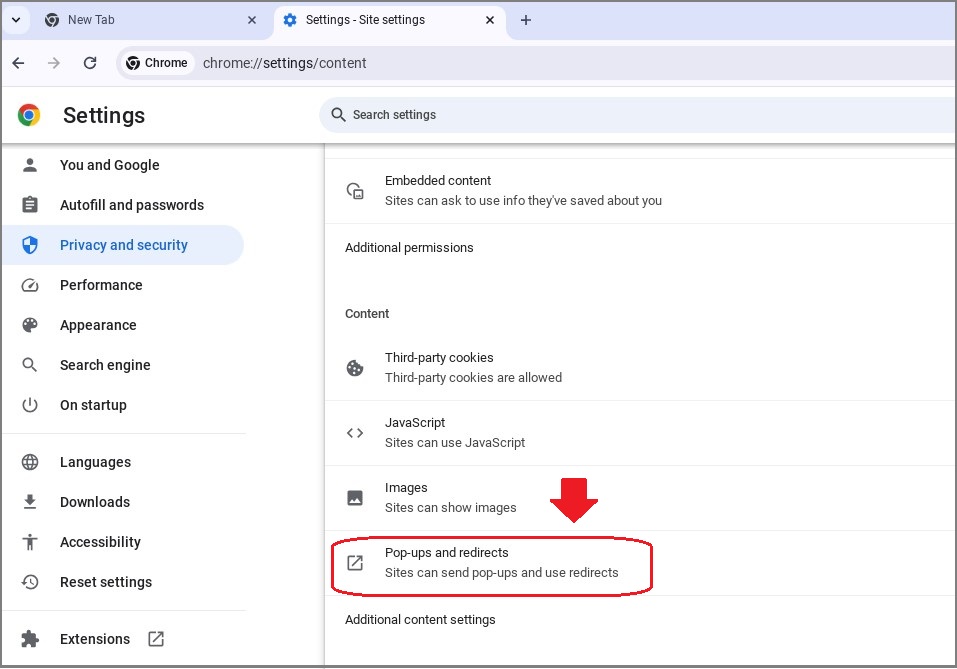
Select the radio button for “Sites can send pop-ups and use redirects”.

Step 3: Uninstall Other Institution’s Respondus Extension
If the Respondus Extension used in another institution is installed, please remove it first. If the extension was previously installed for the use at Humber, you can skip this step and move to Step 4.
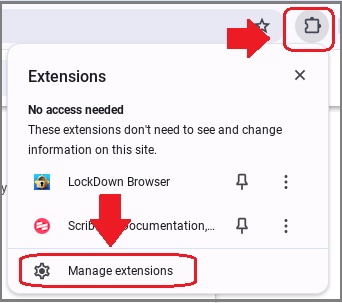
To remove the extension, go to the extension icon on the top-right corner, then select “Manage extensions”.
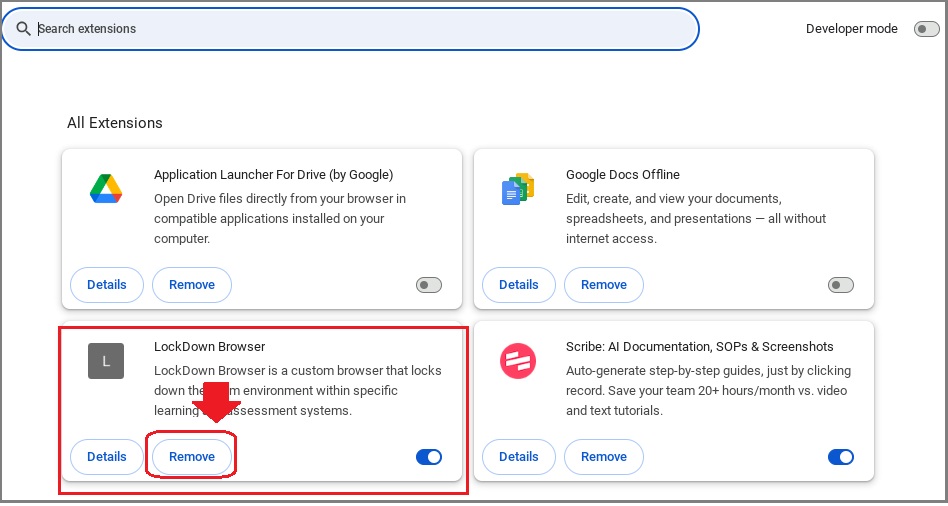
Then, click “Remove”.
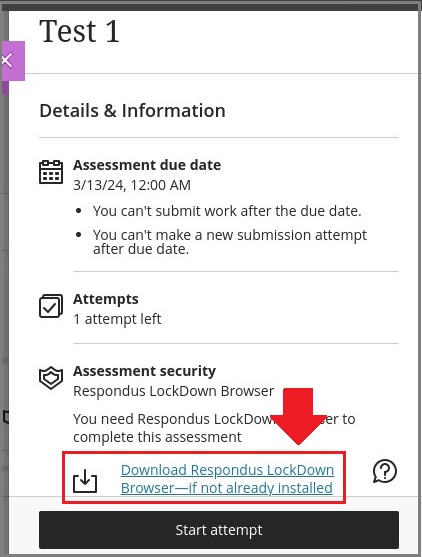
Step 4: Install Humber’s Respondus Extension
Go to the test you are required to use the Respondus Lockdown Browser. Click “Download Respondus LockdownBrowser” from the link provided in the test.
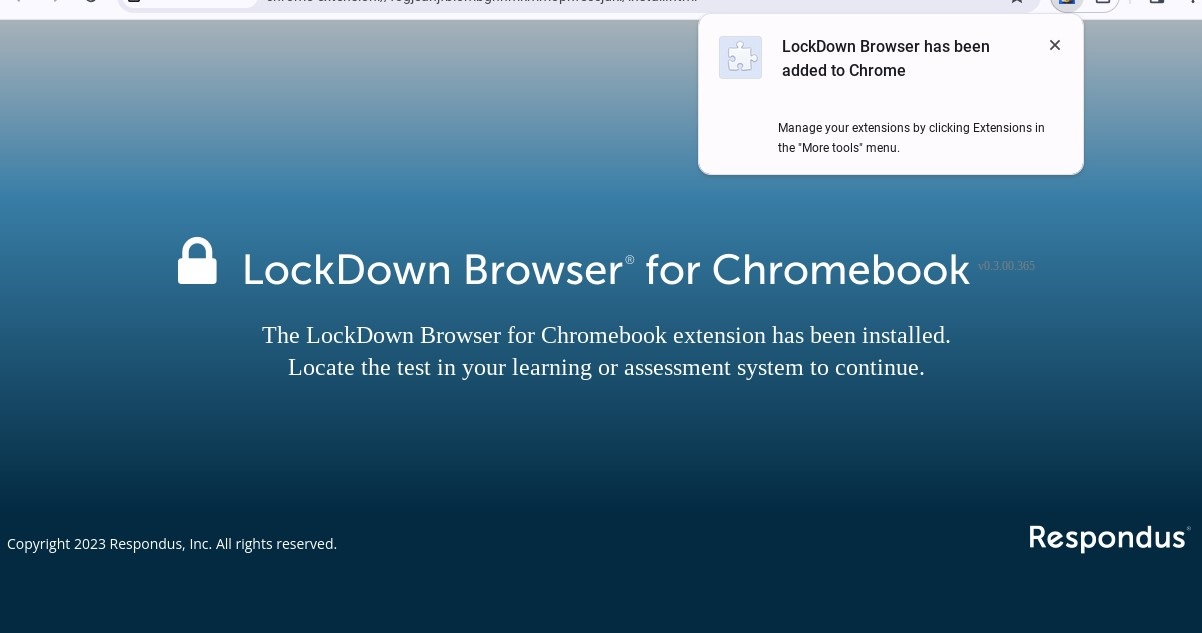
You will be directed to Respondus Lockdown Browser Extension page. Click “Add to Chrome” button on the top-right corner.
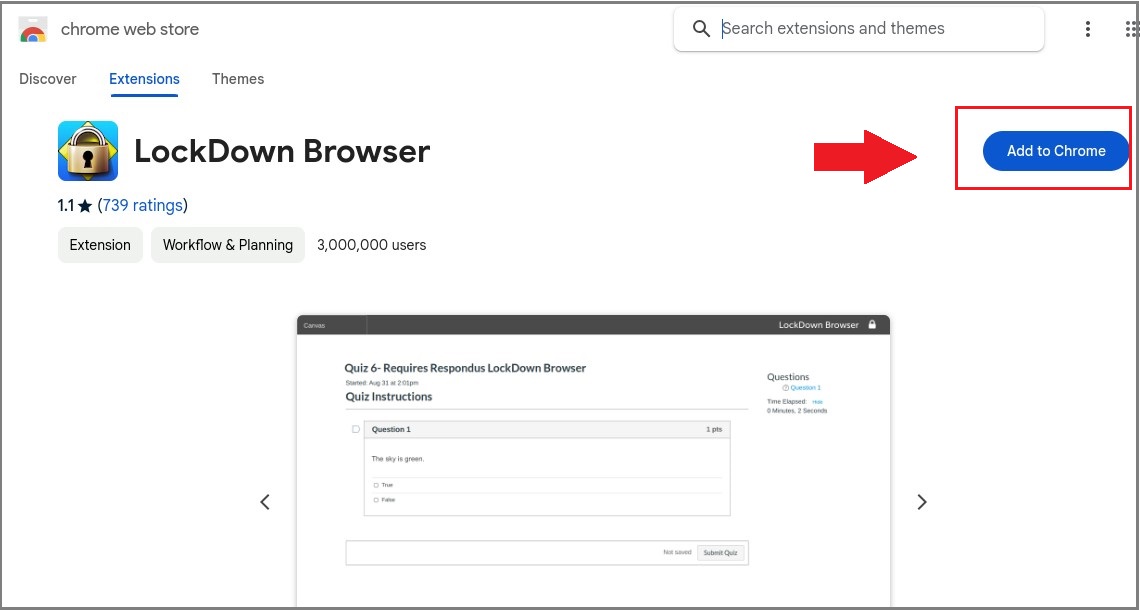
You will see the confirmation window that the extension is successfully added.
Step 5: Close the Browser
Don’t just close the browser tab; close the entire browser. If you attempt to proceed with the test, it won’t work. It will persistently prompt you to install the extension.
After these steps are taken, open a browser. Make sure only one tab is open. Go to Humber Blackboard Ultra, and select your course. Start the test that requires Respondus Lockdown Browser.
How can I allow my students to use external links, files, spreadsheets or calculators during a Respondus Lockdown Browser-enabled test?
There are ways to allow students to access allowed external web pages, viewing attached PDFs, accessing Audio and Video files, spreadsheets and calculators, too. Learn more about these options below!
If an exam contains links to external websites, LockDown Browser will open the links in a new, locked window. Students are able to access the content on the new page, but are prevented from navigating onward because all links are disabled. If the page includes a search function (like with Wikipedia), that too is automatically disabled.
Instructors can include PDF files with an online test. Simply make the PDF available via a link (either from your OneDrive or a link from your Blackboard course!) and it will open in a new window during the exam.
If an exam includes audio or video files, LockDown Browser will allow students to listen or view the items, just as with a standard browser. By linking to the audio or video file from the test question (linking it from the Blackboard course or from OneDrive!), another tab will open in LockDown Browser, allowing the student to listen and/or watch.
The functionality to use spreadsheets during a Respondus-enabled test is available for Windows, Mac, and iPad editions of LockDown Browser; it is not available for Chromebook OS.
Within the test/question, you can add a link to a spreadsheet within your Blackboard course in the wording of the question. Exactly how this link is determined and then added to the question differs with each LMS. In most cases, you should:
- Upload the spreadsheet to a content area in the course (make sure you set it to visible!).
- In the content area, right click on the spreadsheet title and choose “copy link location”.
- Paste that link directly into the quiz question.
When a student selects the link within LockDown Browser, a spreadsheet tool will open. The spreadsheet can be pre-populated with content, or it can be a blank spreadsheet created in another spreadsheet app, which students use to prepare their answers.
When using a spreadsheet within a Respondus-enabled test, the wording in the question needs to provide clear guidance on the steps a student should follow to submit their answer. As shown in the image below, students are instructed to;
- select the link that opens a pre-populated spreadsheet,
- create the required formula or calculation,
- select the button “Click here to save your work”,
- paste the resulting URL into the answer field for the essay question.
After the spreadsheet file has been saved, a dialog will remind students to copy the resulting URL to the answer field using CTRL + V, as shown in the image below.
Instructors will see a unique URL within Blackboard for each student who provided an answer for the essay question. Upon selecting the URL with a standard browser (not LockDown Browser), the spreadsheet tool will open and the student’s work will be shown for that question!
A calculator option will appear on the toolbar for LockDown Browser if you enable it for the exam. To do this, open the LockDown Browser Dashboard tool, choose “Settings” for the exam, then select “Advanced Settings.” Check the box for “Enable Calculator on the toolbar,” then choose from either Standard Calculator or Scientific Calculator, as is shown in the image below:
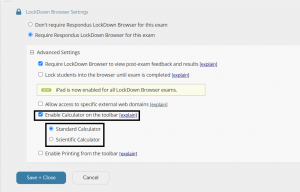
There are two kinds of calculators; there is the standard calculator, as shown below,
and the scientific calculator, as shown below.
Additional Resources and Support
Consider reviewing the information about Respondus in Blackboard, an article created by Anthology here.