Here are the highlights of faculty questions from January. These are not necessarily the most frequently asked questions, but helpful for all faculty members to know!
Question: How do I setup the Gradebook and the Overall Grade?
Answer:
Innovative Learning has created a simulation to help you learn to setup your overall grade. If you prefer the written instructions they are below. Please make sure to setup your Gradebook as soon as possible, and make sure to upload your grades quickly, so that students have an idea of how they are doing in the course.
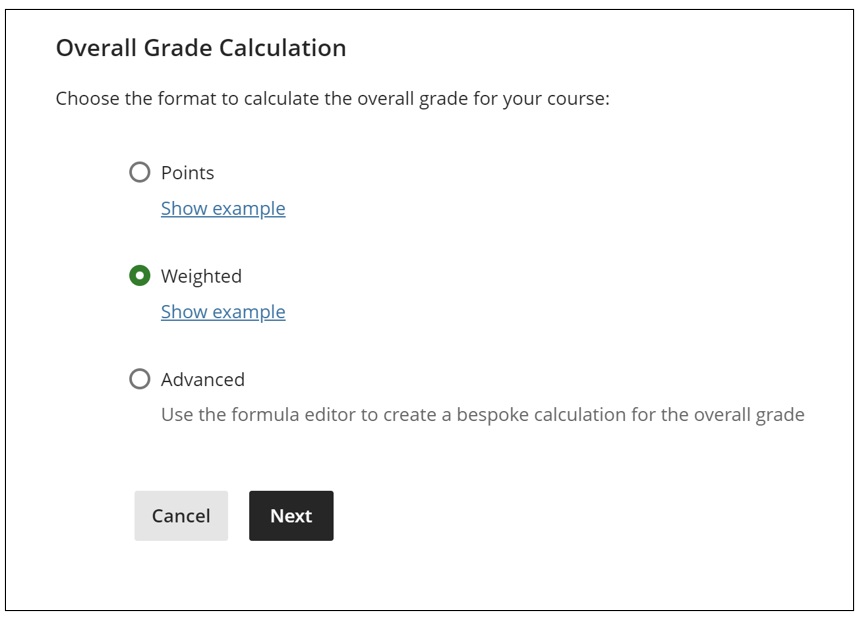
- At the bottom of the Gradebook, select Set it up. The overall grade page will open up.

- Select Overall Grade Calculation. Please select Weighted.
- Read the instructions located at the top of the screen. These instructions describe the function of each symbol within the overall grade calculation.

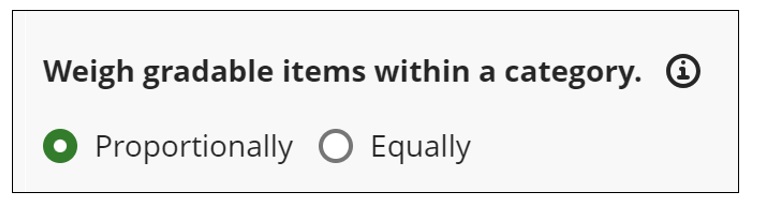
- Please select how gradable items within the category should be distributed. By selecting proportionally, items are distributed based on their total points. For example, an item with 100 points will have twice the weight of an item with 50 points. Equally will ignore the total point and equally distribute weight for each item.
- If grading by category, input the correct weights of each category in their respective areas. Categories that are not being used can be exempted (grayed out row with a purple icon on the right as in the Homework category below).
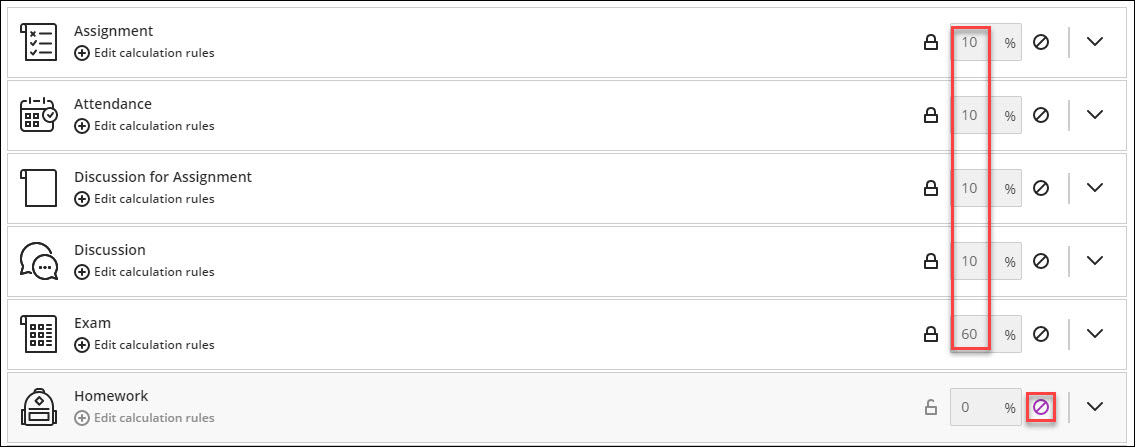
- If grading by individual items, unlink them from their associated category. This can be done by selecting the dropdown of the category and selecting the unlink icon next to the item that needs to be separated.

- The item should now have a separate place to enter it’s individual weight.

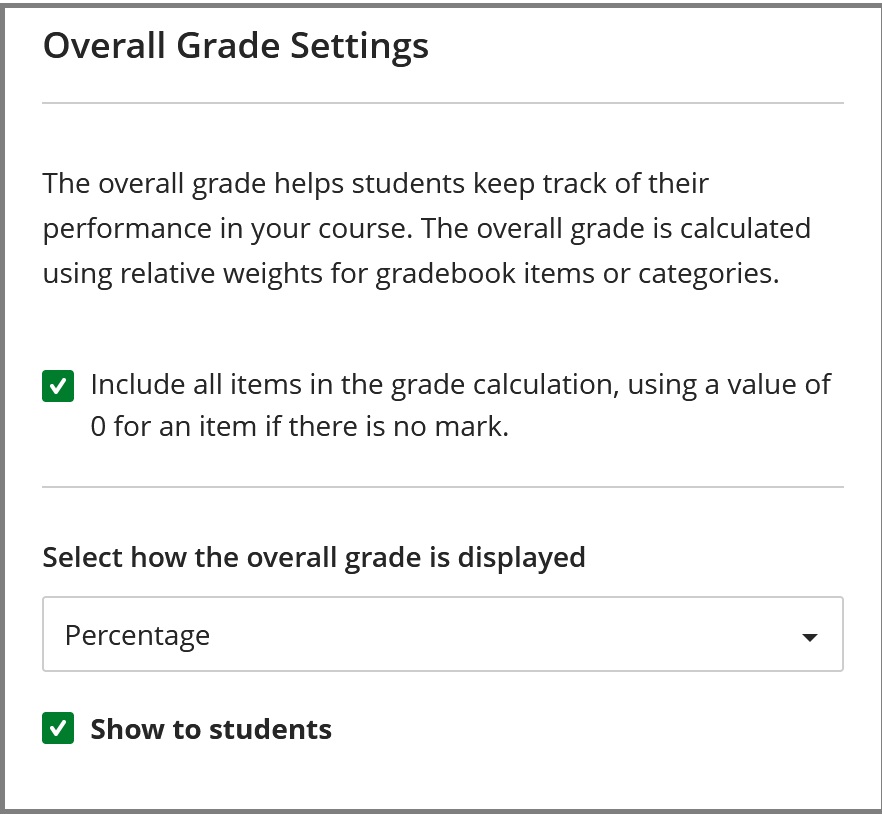
Note: The overall grade allows you to include both category and individual items in the calculation if desired. - Once all the appropriate weights have been entered, there are additional settings to the right of the screen. Here, you can dictate whether you want overall grade calculated based on the total of points earned.
Note: if these settings are not selected, the overall grade calculation will be a non-running total, and students are not able to view it. If you select Percentage, you can show the current running total in percentage.
You can learn more about dropping the lowest grade a student received in a course, as well as overriding the overall grade for a student here.
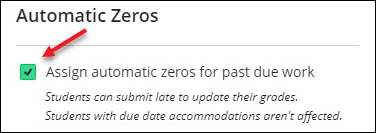
Question: How do I disable automatic zeroes for student submissions?
Answer:
- In the Gradebook, select the Settings icon. The Gradebook Settings panel will open on the right.

- Near the middle of the panel is the “Automatic Zeros” option. Deselect the green arrow.
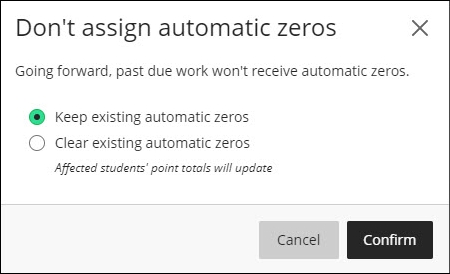
- An option will be given to “Keep existing automatic zeros” or “Clear existing automatic zeros”. After making the preferred selection, press confirm.
Question: How do I setup accommodations in Blackboard?
Answer:
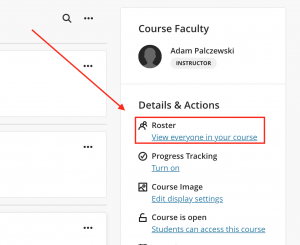
- Access the Roster of your course. The Roster is located on the right hand side, under the Details & Actions menu.
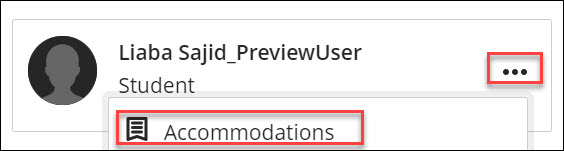
- Locate the student that needs an accommodation and select the three dots > Accommodations.
- On the Accommodations panel, select the necessary accommodation for the student:
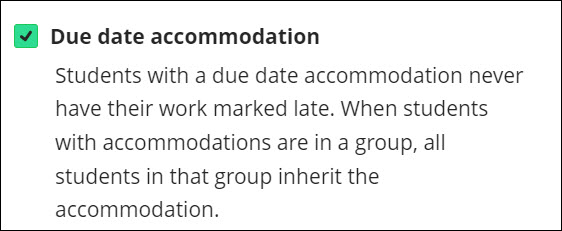
- Due date accommodation: Students with this accommodation will never have their work marked late.
- Time limit accommodation: Students with a time limit accommodation have more time to finish their work during timed assessments.
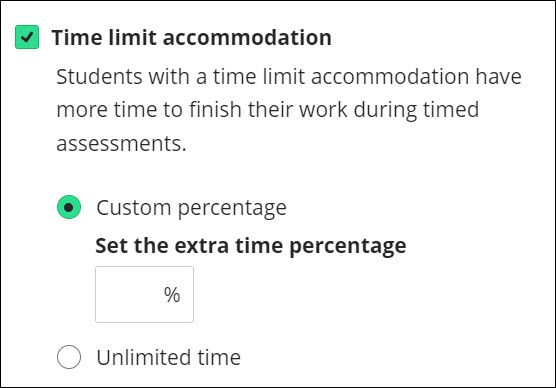
- Custom percentage can be selected if the student requires a specific time limit for their assessments.
- To give the student time and a half on assessments, please enter 50% in the extra time percentage box.
- To give the student double time on assessments, please enter 100% in the extra time percentage box.
- Unlimited time can be selected if the student requires no time limit for their assessments.
- Custom percentage can be selected if the student requires a specific time limit for their assessments.
- Due date accommodation: Students with this accommodation will never have their work marked late.
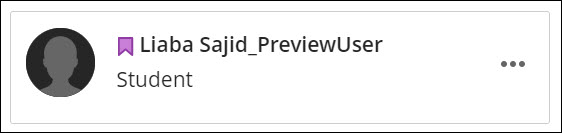
- After the accommodations have been applied, a purple flag icon will appear next to the student’s name.
- These accommodations can be edited at any time. Please note that when a due date or time limit accommodation is deleted, previously submitted work for assessments may then be flagged late.
Question: I want to add myself to a course as an instructor. How do I do this?
Answer:
Instructors are added to live Blackboard courses by the Faculty Scheduler in Banner or Destiny 1. Once they are added through Banner or Destiny 1, access is immediate. Associate deans can request the instructor be assigned through their faculty scheduler. Only faculty who are assigned teaching contracts can be assigned “instructor” status in Blackboard.
The Innovative Learning Support Centre can only add instructors to courses from a previous semester only with approval from an associate dean for the purpose of accessing old course content.
The Innovative Learning Support Centre can manually add users to current courses with the Course Builder role. With this role they will be able to access the course but are limited in functions (for example they will not have gradebook access). However, they still can perform a course copy!
If you want to request to be added as an instructor or course builder, follow this link to the Innovative Learning Support Centre, where you can complete a Support Request.
Question: How do I copy tests, assignments, and other individual content items between courses?
Answer:
- Innovative Learning recommends that you copy the entire course rather than just the content in the course. Copying only the content may result in styling and formatting issues, because copying individual items may not automatically copy over items referenced by the selected item. However, copying individual course items is possible and does work when done carefully. You can learn more about copying full courses by following this link.
- You can only copy materials into a course if you have the role of instructor, teaching assistant (TA), or course builder.
- Hidden courses will not be selectable in the Copy Content panel.
- Copying does not include student-specific data (e.g. test and assignment submissions, grades, discussion posts, attendance data).
- Content migrated from one course to another always needs to be reviewed and tested (i.e. ensure all the settings were retained in the migration process) prior to publishing them, particularly when Blackboard integrations like Respondus are involved.
Here is how you copy individual content items from one course into another:
- Open the destination course – the course where you want the copied content to go.
- There are two locations you can go to Copy Items Page.
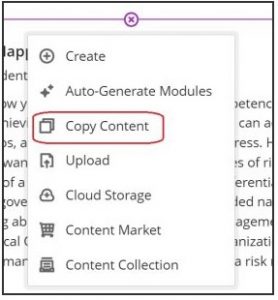
One is from the middle of the page with a plus icon. By clicking the icon, you will see a menu where you can click Copy Content to go to Copy Items Page.
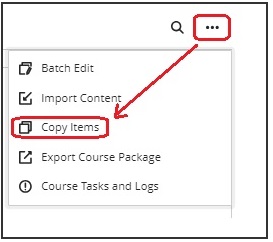
Another is from the top-right corner. Select three dots and you will see a menu where you can click Copy Items to go to Copy Items page.
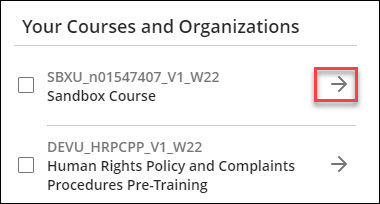
- Locate the course that needs to be copied from and select the arrow next to its name. Note: Do not select the checkbox next to the course name if you are only making a copy of items. Selecting the checkbox results in copying over the entire course.
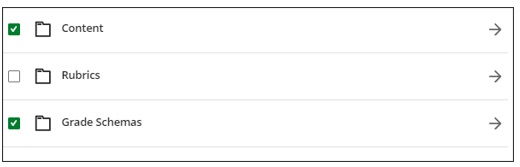
- The course will open into several parts depending on what are contained in the source course. “Content”, “Discussions“, “Announcements”, “Question Banks”, “Rubrics” and “Grade Schemas” can be copied. Select the arrow next to the part that contains the needed content. This should reveal the individual items within that section.
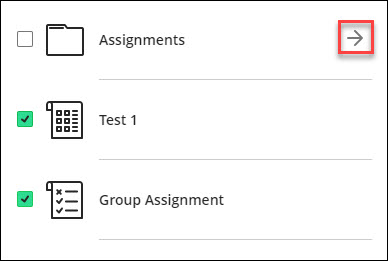
- Select the box next to all items that need to be copied over. Note: Folders and Modules can be opened further to select content inside. Selected items are shown on the right side of the panel.
- Once you have made the necessary selections, click on “Start Copy“ at the bottom of the right panel. It may take a while to complete the copy process. Once it is finished, you will be able to see all the items copied from the selected course.

Need support? The Innovative Learning Support Centre is here to help!