There are multiple ways to create a class meeting link for your virtual class sessions:
Method 1: Creating a meeting in Outlook (Recommended method)
It is also possible to create a class meeting link in Outlook, in case the Teams LTI tool in Blackboard is not available. With this method, your meeting links will be directly integrated into your Microsoft 365 environment within your Outlook and MS Teams app. Here’s how:
Step 1: Log into Outlook with your Humber login credentials.
Step 2: Go to the Calendar and Create a new event.
Step 3: Add a title, date and time to this meeting. Make sure to toggle on Teams meeting and click Save.
Step 4: Join the meeting, click the People tab and select Share invite to copy the meeting link.
Step 5: Share the meeting link with students by adding the meeting link to the Course Content area and Calendar in Blackboard. You can also share the link in an Announcement to the class.
Method 2: Creating a meeting using the Blackboard LTI (Not recommended: this method is known to cause issues.)
The Microsoft Teams LTI provides instructors the option to generate a meeting link from within Blackboard. Here’s how.
The created meeting link will be visible in your Blackboard Calendar. You may share this link with your students in Outlook as well, by copying and pasting it on your Outlook calendar and inviting your students as the meeting attendees.
Note: When using the Teams LTI tool in Blackboard, you may encounter following issues.
- Numerous attempts may be required to generate a meeting link before it is added to your Course Content and Calendar.
- When joining the created meeting link, an error screen may appear. You must click prompt to “open in new window” to join a meeting.
Linked resource: Creating a Microsoft Teams meeting in Blackboard Ultra
Method 3: Creating a channel in Microsoft Teams
You may create a class Teams channel to provide your students a collaborative space for group discussion and class activities.
Important: Please note that all other course activities including sharing and managing course content, marking assessments, and keeping track of student grades must still occur within Blackboard.
These are the steps to create a class channel in Teams.
Step 1: Log into the Teams app.
Step 2: Click Teams on the left sidebar.

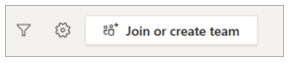
Step 3: Click Join or create a team.
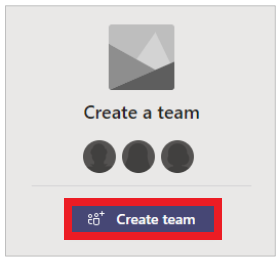
Step 4: Click Create a team.
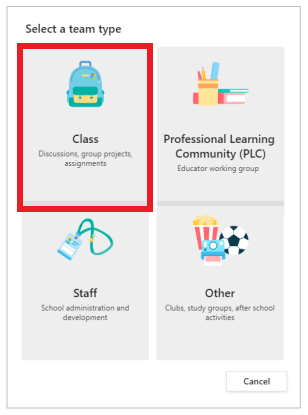
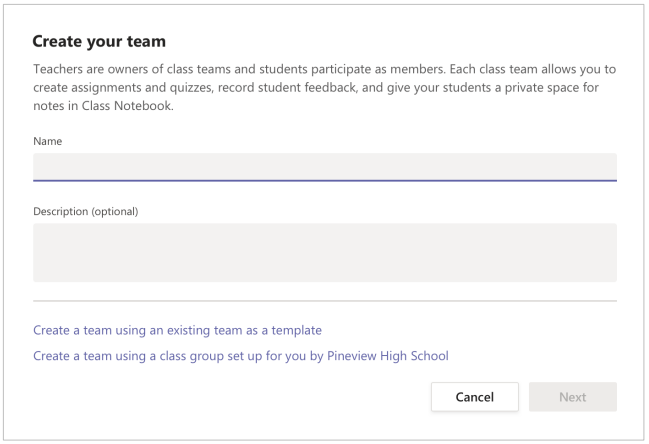
Step 5: Select Class as the team type and name your team.
Step 6: Skip the Add people step. (Note: You do not manually add each student to your Teams channel.)
Step 7: Locate your newly created Team on the left sidebar. Click on the three dots and click Get link to team.
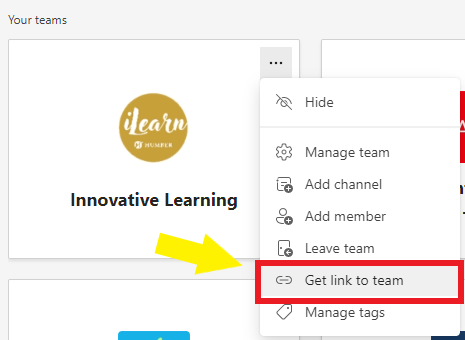
Step 8: Copy the link and share with your students. (Note: To join the Team, students will need to download the Teams app and log in using their Humber credentials.)
See Microsoft Teams for Education, Quick Start guide for educators for additional tips and instructions.
Self-directed help
- For a series of short helpful videos refer to Microsoft’s video series Microsoft Teams Video Training.
- For more in-depth help, review this MS Teams Ed-Venture Workshop recording.
MS Teams Support
- General support: contact IT at 416.675.3111 ext. 8888.
- For training: Sign up to 1:1 Coaching with ITS coaches to learn more about Microsoft Teams and other Office365 applications.