What are Documents in Blackboard?
You can create a document or content item out of a combination of visual or textual elements. A document can be as simple as a single line of text or a combination of elements. This is a feature Blackboard is heavily investing in, and updates occur monthly to documents in Blackboard, so please keep up-to-date with the most current updates by following this link to Anthology’s help article relating to documents.
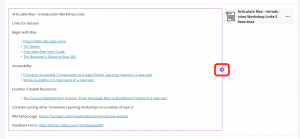
As a single document, you can include introductory text for a lesson, an image for your students to view and interact with, and links to web resources. The materials are all presented together in the content list. The longer your content item is, the more your students have to scroll to see all the other materials in the content area. Documents are created with a variety of block types. There are many options for content design and you have control over a variety of visual elements.
Learn more about creating documents in Ultra in the video below:
How do I create a document in Blackboard?
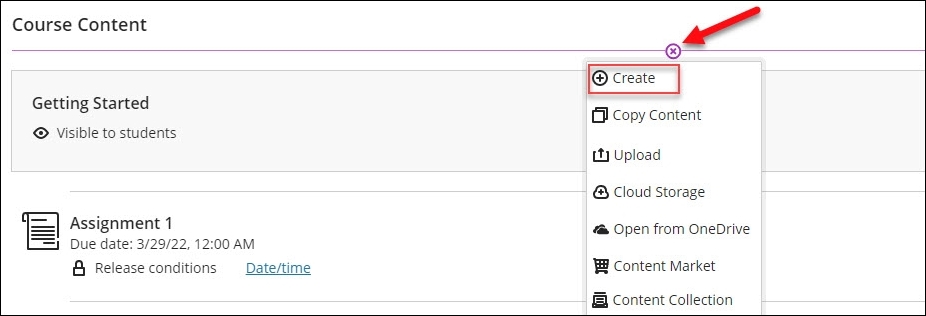
- On the Course Content page, select the plus sign > Create. The Create Item panel will open on the right.
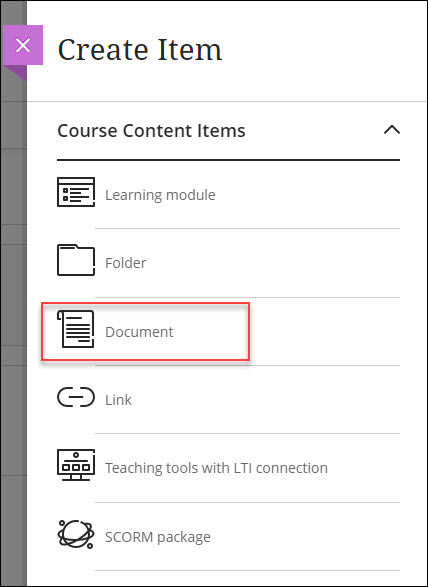
- On the Create Item panel, select Document. The New Document page will open.
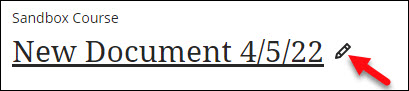
- On the New Document page, name the Document.
Before you begin building: How do I know if my document is accessible?
The Ultra Accessibility Checker scans content in the rich content editor for documents to identify accessibility issues. It offers explanations about these issues and offers quick fixes to address them, making your content accessible.
How do I add content into the document?
- To add content in the Document, you have a few options to choose from:
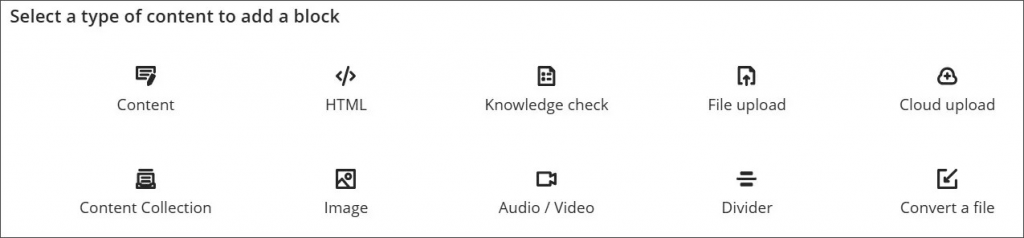
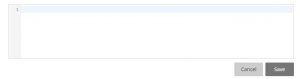
- Add Content: This feature provides a text editor box where you can add text, links, and other attachments to the document.
- Add HTML: This feature allows you to enter a block of HTML code. This is particularly useful for embedding videos or other non-text content. Many applications, such as YouTube, provide an HTML code block for sharing using the “embed” option.
- Add a knowledge check. Knowledge checks test student comprehension of a document by asking a multiple choice or multiple answer question. Learn more about knowledge check blocks by watching this video. Knowledge checks include:
- Feedback: You can pre-populate correct and incorrect answer feedback
- Student interaction: Students receive immediate feedback on whether their answer is correct or incorrect. Knowledge checks allow unlimited attempts.
- Metrics: You have access to detailed metrics about how students are engaging with the knowledge check.
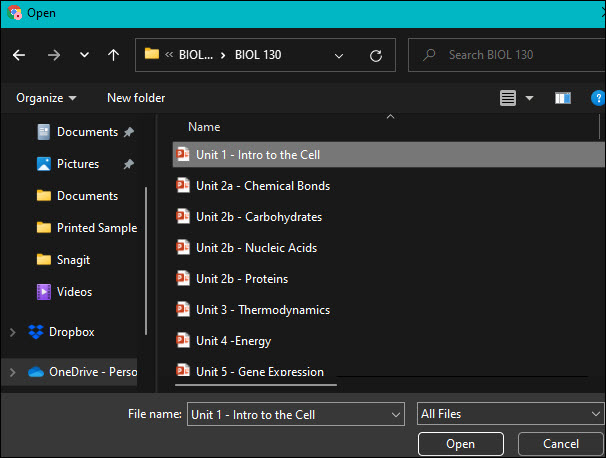
- File Upload: This feature allows you to upload Word documents, PowerPoints, and other items on your computer to the Document.
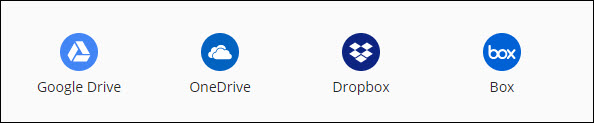
- Cloud Upload: You can add items that have been added to Cloud Storage into the Document.
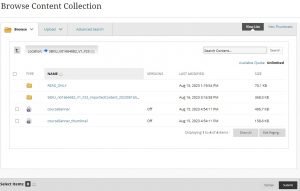
- Browse Content Collection: You can add items that have been added to your Content Collection into the Document.
- Add an image. You can upload an image from your device. Using the AI Design Assistant feature, you can also generate images or choose stock images from Unsplash. You can also choose to caption images.
- Audio/Video block. Record camera, audio, screen, or audio & screen. You can also upload a video or audio file from your device.
- Divider block. Add a resizable divider between blocks.
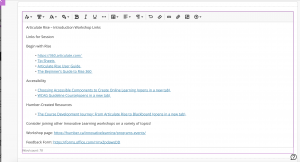
- Convert a File: If you would like the text of a word document or pdf to be added into the document, you can convert a file. After converting a word document, this is what your document will look like:
- Add Content: This feature provides a text editor box where you can add text, links, and other attachments to the document.
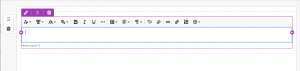
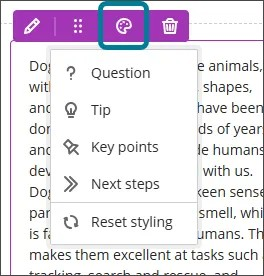
- You can move blocks using the ellipsis (……) that appears above each block when you hover over it. You can move blocks above, below or beside other blocks! You can also use the palette icon to add styling to each block to identify if it is a question, tip, key point or next step!
- If you’ve moved a block beside another block, you can adjust the amount of space they take up by sliding the left and right arrows when you hover over the block.
- If you’ve moved a block beside another block, you can adjust the amount of space they take up by sliding the left and right arrows when you hover over the block.
- Once you have made all of the edits you would like to the document, make sure you Save the document.
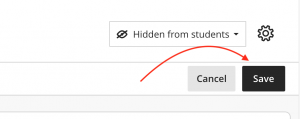
Note: Newly created Documents are “Hidden from students” by default and this setting can be changed in the top right corner. - To make changes to your document, click on the Edit button that replaces the Save button.
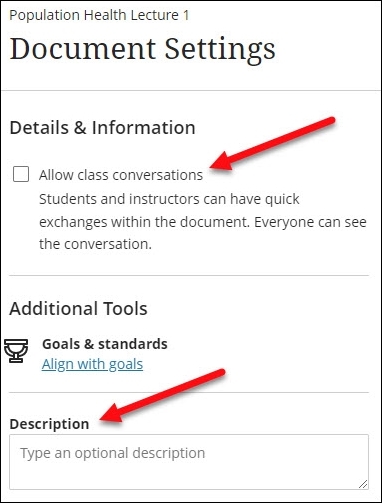
- To access more settings for the Document, click on the gear icon located at the top right. Here, an optional description can be added and class conversations can be enabled. After making the preferred selection, click “Save” at the bottom right of the panel.
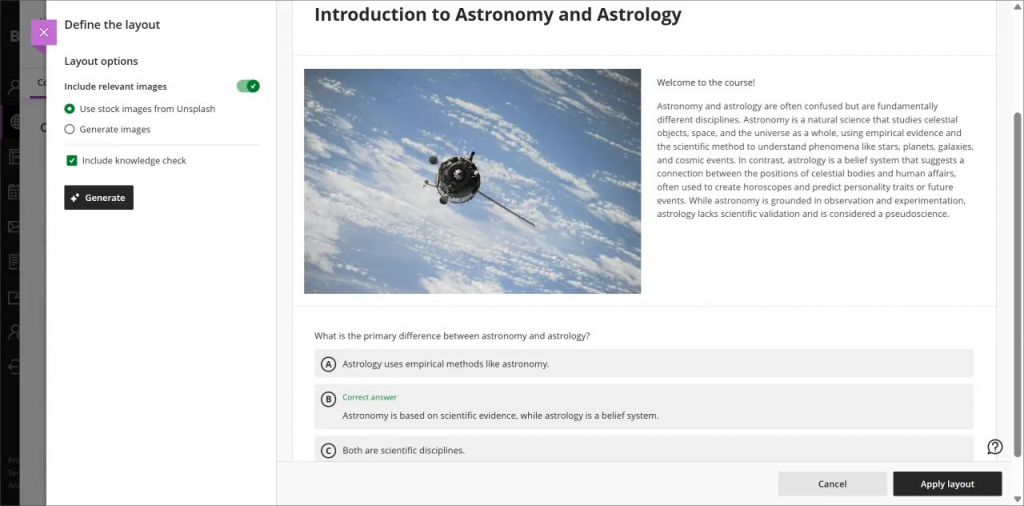
Can I use the AI Design Assistant to help me with the layout of the document?
Yes, you can use the AI Design Assistant to design attractive layouts for Documents that include images, knowledge checks, and helpful headings.
- When you’re inside a Document, select Edit Document to enter the editing mode. Then, select the Suggest Document Layout button.

- You control whether the AI Design Assistant includes images. You can use stock images from Unsplash or generate images (Innovative Learning does not recommend generating images using the AI Design Assistant. You can also select or deselect the option to include knowledge checks.
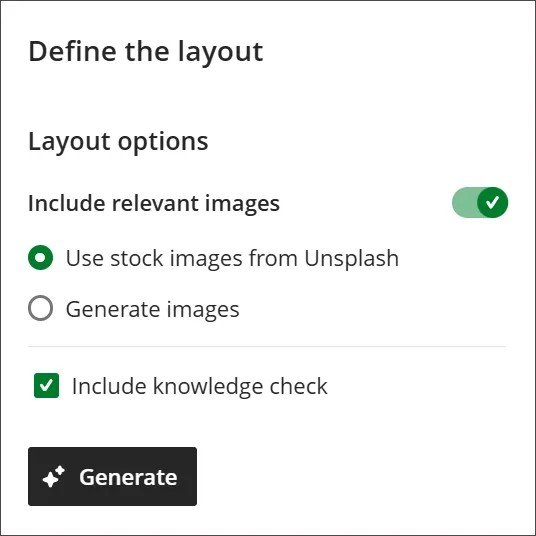
- Select Generate when you’ve finalized your settings. Your Document now has a new layout, including any extra features you selected, and select ‘Apply Layout’ if you are happy with the generated layout.
- Learn more about using the AI Design Assistant in your Documents by following the instructions and guidance at our “Generate Document Layouts: Blackboard’s AI Design Assistant” article.
Can I print documents in Blackboard?
Yes! When you print a Document, the Document prints as displayed on a desktop web browser, even if you’re on a mobile device.
- For instructors, knowledge check blocks print with all of the question and answer options.
- For students, knowledge blocks print in the same way that they are on the Document page when the student chooses to print.
Contact the Innovative Learning Support Centre if you need support. We are here to help!