What is the Gradebook?
The Blackboard Gradebook is a key tool for instructors. In the Gradebook, you can add new gradable items, grade assessments, track student performance data , and archive the grades, archive student submissions and archive student responses, which is good file management practice. Consider reviewing this Blackboard Help resource dedicated to helping you setup your Gradebook, assessing your students’ learning, and track student performance and data.
Learn more about the Gradebook in the following video:
What is a Grade Column? How can I manually create a Grade Column?
Blackboard automatically creates a Grade Column in the Gradebook for every item that you designate as graded, or that is graded automatically (e.g. test, assignment, discussion, etc.). However, you will need to manually create a Grade Column for assessments that aren’t graded online (e.g. labs, in-class assessment). Learn more about this in the following instructions:
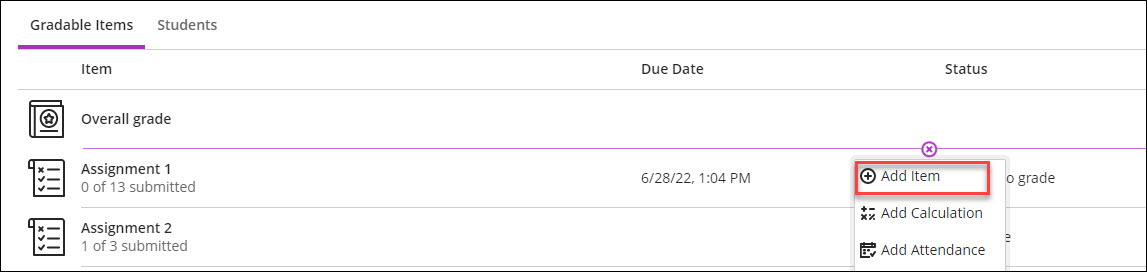
- Locate where you want to add an item by hovering your cursor on the lines in between your gradable items. Select the plus sign and then select Add Item from the drop-down menu. The new item panel will open.
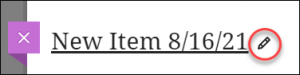
- In the new item panel, select the pencil icon to create a new title.
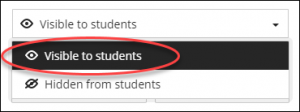
- To allow students to view the grade column, select the drop-down menu and select Visible to students.
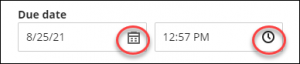
- Select the calendar and clock icon to add a due date.
- Choose the grade unit, Points, Percentage, or Letter.
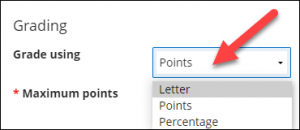
- Type in a number to specify the maximum points possible.

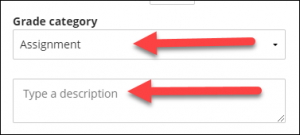
- Optionally, add a grade category and a description.
- After you’ve made all the desired changes, select Save!
Contact the Innovative Learning Support Centre if you need support. We are here to help!