What are Groups in Blackboard? What are the benefits of using Groups?
Collaborative learning offers many benefits over traditional instruction. Studies show that when students work as a team, they:
- develop positive attitudes
- solve problems more effectively
- experience a greater sense of accomplishment
You can organize students into groups in Blackboard so they can interact with each other and demonstrate their knowledge while they learn to appreciate the perspectives of others.
You can create group sets to use for graded work, such as:
- assignments
- tests
- discussions
You can learn more about creating Group Discussions here, and learn more about creating Group assignments here.
How do I create Groups in Blackboard?
Learn more about creating groups in Blackboard by following the instructions in the video below:
You can also learn how to import or export groups into or out of Blackboard by following the instructions through Anthology’s Blackboard Help page here, or learn how to create and manage groups in Blackboard through Anthology’s Blackboard Help page here. Alternatively, the following shows how to create groups, too:
- From the menu, select Groups.

- On the Manage Groups page, select New Group Set.

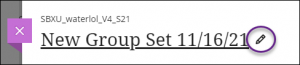
- On the New Group page, select the name or the pencil icon to edit the name of the group.
- Select the Group students field and choose how you want to divide your students into groups. (Click the link for more help with a specific group type.)
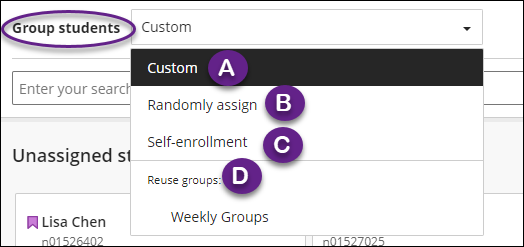
- Custom– You manually create groups and assign students. Use the plus sign below the student names.
- Randomly assign – Students are automatically assigned evenly to groups.
- Self-enrollment – This must be a visible group. Once created, it generates an announcement to notify students to sign up to a group. Students must self-enroll to a group.
- Reuse groups – You can reuse an existing course group or group set you had previously created in your course. (Please note if you select this from Groups tab, it only copies the existing groups. Modifying it doesn’t affect the original groups.)
How do I view the group members in a group?
- From the menu, select Groups.

- You will see a list of group sets created from Groups tab, or from Release conditions. (Group sets created directly from assessments will not be available from here.)
- Click the down arrow to expand the group set. It shows groups.
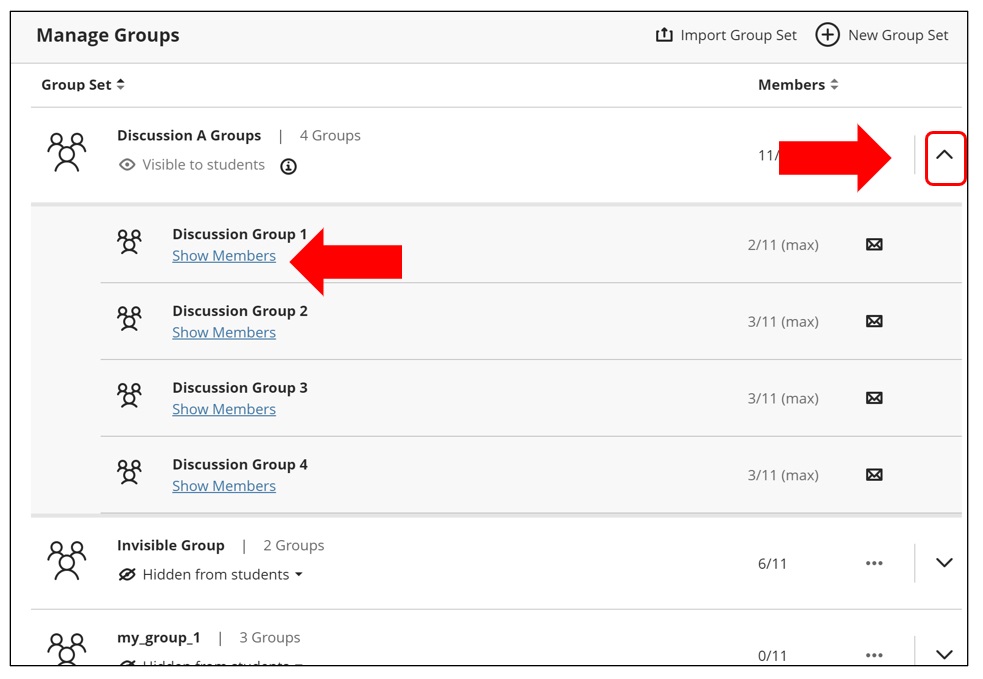
- Click “Show Members” will open up a list of members.
How can I create Groups from Release Conditions or from an Assessment?
In addition to the Groups page, there are a few other places you can create groups.
- Release Conditions
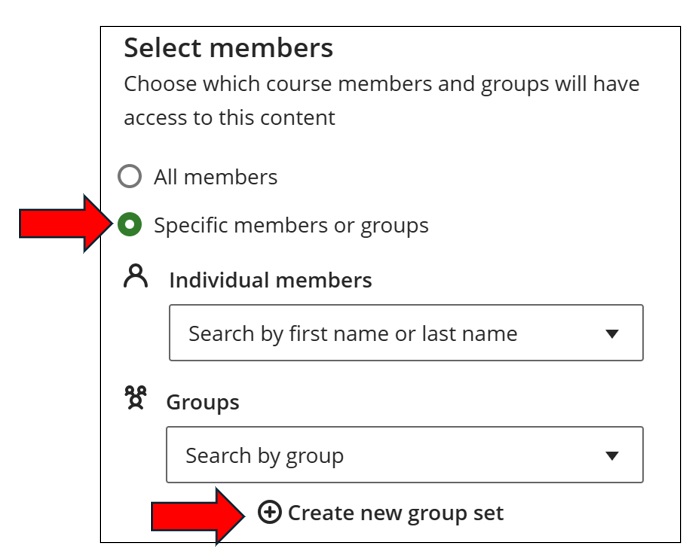
When you select “Specific members or Groups” in release conditions, you will be presented with “Create new group set” button. By clicking this, you are able to create a new group set. Group sets you create from here will be listed on the Groups page.
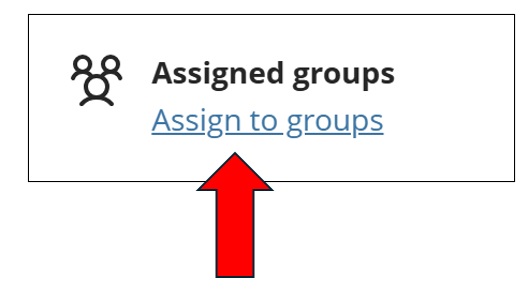
- Assignments, Tests, Forms and Discussions
When you create Assignments, Tests, or Forms, from the settings, you can assign assessments to groups. By clicking “Assign to groups”, you are presented with options to create “Custom”, “Randomly Assign”, “Self-enrollment” or “Reuse groups” if group sets already exist.
When you select “Custom”, “Randomly Assign” or “Self-enrollment”, a new group set is created but these are not accessible from the Groups page. You can always access from the assessment you created the group set from.If you create a “Self-enrollment” group set from here, it doesn’t create a new announcement (which is a different behaviour from creating from Groups page), but students are required to self-enroll in order to proceed with the assessment. When you reuse groups from an assessment, it references existing groups (which is a different behaviour from creating from Groups page).
What should I know about editing or deleting groups?
Please review the following information:
- If you add or delete a group in a group set used to create a new group set, the new group set is unaffected.
- If you add or delete a group in a group set that you used to create a group assessment or discussion, that content item’s groups are updated. Edits to group titles and descriptions also affect the content items.
- If you add or delete a group in a group assessment or discussion that’s based on a course group set, the course group set is updated. Edits to group titles and descriptions also affect the course group set.
- If you delete a group set used to create a new group set, the new group set is unaffected.
- If you delete an entire group set used to create a group assessment or discussion, the content item’s groups are removed.
- If you delete a group assessment or discussion based on a course group set, the group set is unaffected.
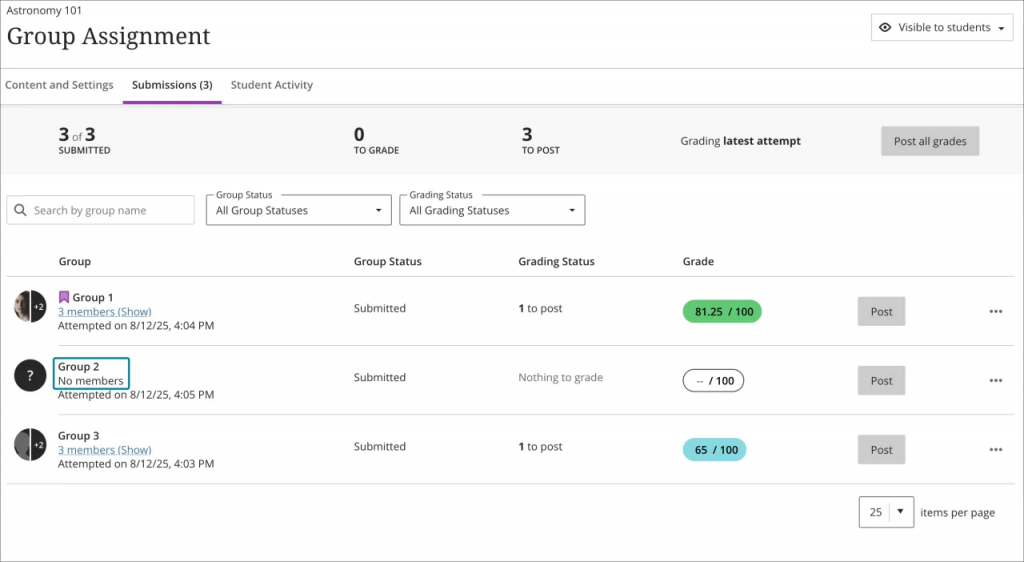
- If you move members out of a group in a group set, a ‘No members’ label appears, and the group avatar displays a ‘?’ icon. The name of the group also becomes non-selectable.
Contact the Innovative Learning Support Centre if you need support. We are here to help!